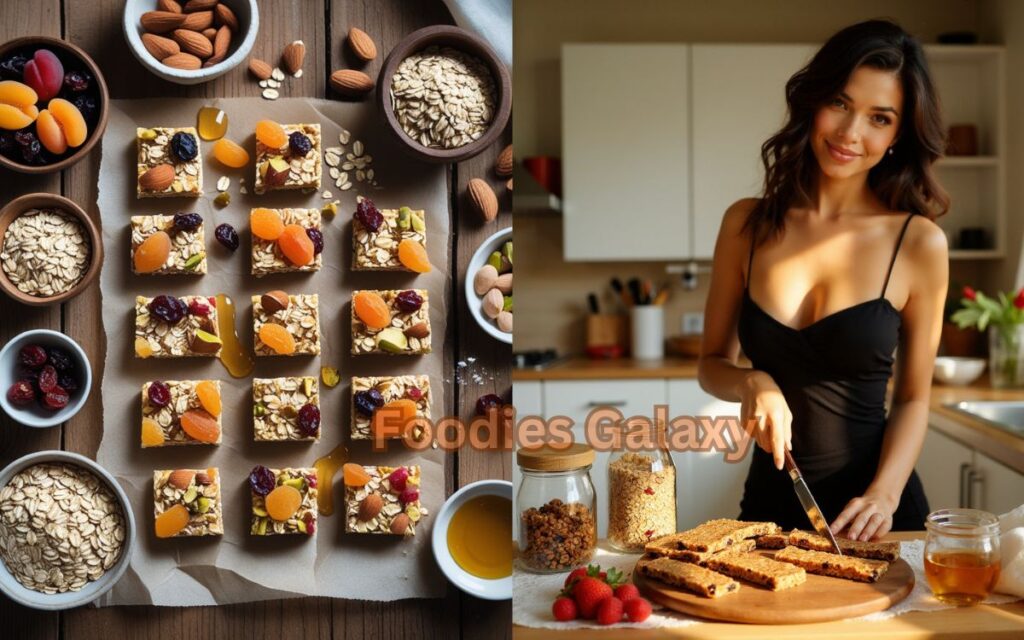
A Story You’ll Relate To: How These Homemade Granola Bars Saved My Day
There’s something comforting about having a wholesome, homemade snack tucked away in your bag. I remember rushing out one morning—no breakfast, long commute, cranky mood. Halfway through the day, I reached into my tote and found one of these fruit & nut bars I had made the night before. One bite changed the tone of the day: chewy, nutty, naturally sweet, and packed with energy. Since then, I’ve never left home without a batch of these stashed in the fridge or packed to-go. They’re a lifesaver—especially if you’re trying to eat clean, avoid processed snacks, or simply enjoy real food.
Now, I’m sharing this tried-and-true recipe with you so you can also enjoy this energy-boosting treat, whether you’re heading to school, work, a hike—or even just your couch.
Best Ingredients for Homemade Granola Fruit and Nut Bars
To make sure these bars are both tasty and nutrient-rich, let’s walk through the exact ingredients you’ll need. These are easy to find globally and super adaptable.
🧾 Ingredients List (with grams)
- Rolled oats – 200g
- Medjool dates (pitted) – 120g
- Raw almonds – 100g
- Dried cranberries – 80g
- Pumpkin seeds – 50g
- Chia seeds – 20g
- Natural peanut butter – 100g
- Maple syrup or honey – 80g
- Cinnamon – 1 tsp
- Vanilla extract – 1 tsp
- Sea salt – ¼ tsp
Add Direction How to Cook and Deeply Explain Step by Step for Each Recipe
Let’s break this down into a few easy steps so you can master these bars even if you’ve never made granola at home before.
Step 1: Prep the Ingredients and Toast for Extra Flavor
Start by lightly toasting the oats and almonds in a dry skillet or oven (at 175°C or 350°F) for about 10 minutes. This step enhances their flavor and gives your bars a deliciously nutty base. Let them cool slightly.
Step 2: Blend the Dates for Binding
In a food processor, blend the pitted Medjool dates until they form a sticky paste. If the mixture seems dry, add a tablespoon of warm water to help it along.
Step 3: Mix the Dry Ingredients
In a large mixing bowl, combine the oats, almonds, pumpkin seeds, chia seeds, cranberries, cinnamon, and a pinch of sea salt. Mix until well distributed.
Step 4: Heat the Wet Ingredients Together
In a saucepan over low heat, stir the peanut butter and maple syrup (or honey) together until smooth. Add vanilla extract at the end and remove from heat.
Step 5: Combine Everything and Form the Bars
Now, add the date paste and warm peanut butter mixture to the bowl of dry ingredients. Mix everything very well—use your hands if necessary to make sure the ingredients are evenly coated and sticking together.
Step 6: Press and Chill
Line a square pan (20×20 cm) with parchment paper and firmly press the mixture into the pan. Press down evenly so the bars hold together. Place the pan in the fridge for 2–3 hours or until set.
Step 7: Slice and Store
Once firm, lift the mixture out of the pan and cut it into 12 bars. Store them in an airtight container in the fridge for up to 10 days, or freeze for longer shelf life.
Proper Nutrition Information per Bar (approximate values)
| Nutrient | Value per bar |
|---|---|
| Energy | 210 kcal |
| Protein | 6g |
| Carbohydrates | 25g |
| Sugars (natural) | 12g |
| Fiber | 4g |
| Fat | 10g |
| Saturated Fat | 1.5g |
| Sodium | 60mg |
These bars are ideal for kids, adults, athletes, and anyone on the go!
Food Safety Note for Homemade Granola Bars
Always store these bars in an airtight container in the refrigerator to prevent spoilage. If using honey, avoid giving these to children under one year old. When handling sticky mixtures, use clean hands or food-safe gloves. If allergic to nuts, substitute with sunflower seed butter and seeds instead.
FAQs About Homemade Fruit & Nut Granola Bars
Q1: Can I use quick oats instead of rolled oats?
Rolled oats work best for texture, but quick oats are fine if that’s what you have. Avoid steel-cut oats—they’re too hard for this recipe.
Q2: Are these bars gluten-free?
Yes, if you use certified gluten-free oats. Always check the label if gluten is a concern.
Q3: Can I bake them instead of refrigerating?
These bars are designed to be no-bake, but you can bake at 175°C for 10–12 minutes for a firmer texture.
Q4: What’s the best nut substitute for allergies?
Try using sunflower seeds and sunflower seed butter to make the bars nut-free but still protein-rich.
Q5: How long can I freeze these bars?
They’ll stay fresh in the freezer for up to 3 months. Wrap them individually for easy grab-and-go options.
Make It Now: How to Make 3 Kid-Friendly Overnight Oats Recipes with Ingredients in Grams and Step-by-Step Instructions
Thank You for Reading!
Thank you so much for spending your time here with me. I hope this recipe adds flavor and joy to your kitchen. Your support means the world—happy cooking and see you in the next post!

